 Git使用指南
# Git 使用指南
# 介绍
# 关于 Git
Git 是一种可以智能追踪文件中的更改的版本控制系统。 在你和一组人员同时对同一文件进行更改时,Git 的价值就体现出来了。
通常,要在基于 Git 的工作流中执行此操作,需要:
- 为你(和协作者)正在处理的文件的主副本“创建分支”。
- 在自己的个人分支上独立安全地对文件“进行编辑”。
- 让 Git 智能地将特定更改“合并”回文件的主副本,从而确保更改不会影响其他人的更新。
- 让 Git “跟踪”你和其他人的更改,这样就可以一直使用项目的最新版本。
# 关于 GitHub
GitHub 是一种基于云的平台,可在其中存储、共享并与他人一起编写代码。
通过将代码存储在 GitHub 上的“存储库”中,你可以:
- “展示或共享”你的工作。
- 持续“跟踪和管理”对代码的更改。
- 让其他人“审查”你的代码,并提出改进建议。
- 在共享的项目中开展“协作”,无需担心这些更改会在准备好集成更改之前影响协作者的工作。
协作式工作是 GitHub 最基本的功能之一,该功能由开源软件 Git 实现,而 GitHub 是以该软件为基础进行构建的。
# Git 基本工作流
# 初始化仓库
git init
如果初始化成功,执行了git init命令的目录下就会生成.git目录。这个.git目录里存储着管理当前目录内容所需的仓库数据
# 查看仓库状态
git status
这个命令非常常用,请务必牢记
# 向暂存区中添加文件
git add
如果只是用 Git 仓库的工作树创建了文件,那么该文件并不会被记入 Git 仓库的版本管理对象当中。因此我们用 git status 命令查看 README.md 文件时,它会显示在 Untracked files 里。
要想让文件成为 Git 仓库的管理对象,就需要用git add命令将其加入暂存区(Stage或者Index)中。暂存区是提交之前的一个临时区域。
(base) martian148@Mac git_1 % touch README.md
(base) martian148@Mac git_1 % git status
位于分支 master

尚无提交

未跟踪的文件:
  (使用 "git add <文件>..." 以包含要提交的内容)
	README.md

提交为空,但是存在尚未跟踪的文件(使用 "git add" 建立跟踪)
2
3
4
5
6
7
8
9
10
11
(base) martian148@Mac git_1 % git add README.md
(base) martian148@Mac git_1 % git status
位于分支 master

尚无提交

要提交的变更:
  (使用 "git rm --cached <文件>..." 以取消暂存)
	新文件:   README.md
2
3
4
5
6
7
8
9
10
将 README.md 文件加入暂存区后,git status 命令的显示结果发生了变化。可以看到,README.md文件显示在Changes to be committed (提交的变更)中了。
# 保存仓库的历史记录
git commit
可以将当前暂存区中的文件实际保存到仓库的历史记录中。通过这些记录,我们就可以在工作树中复原文件。
(base) martian148@Mac git_1 % git commit -m "commit 1"
[master(根提交) c917196] commit 1
 1 file changed, 0 insertions(+), 0 deletions(-)
 create mode 100644 README.md
2
3
4
m 参数后的 "commit 1" 称作提交信息,是对这个提交的概述。
刚才我们只简洁地记述了一行提交信息,如果想要记述得更加详细,请不加 -m,直接执行git commit命令。执行后编辑器就会启动,并显示如下结果。
# 请为您的变更输入提交说明。以 '#' 开始的行将被忽略,而一个空的提交
# 说明将会终止提交。
#
# 位于分支 master
# 要提交的变更:
#       删除:     README.md
#
2
3
4
5
6
7
然后你依次输入以下信息:
- 第一行:一行文字简述修改内容
- 第二行:空行
- 第三行:记录更为详细的内容
这里的编辑是需要使用 vim 操作的
执行完 git commit 命令后可以使用 git status 查看当前状态。
# 查看提交日志
git log
git log 命令可以查看以往仓库中提交的日志。包括可以查看什么人在什么时候进行了提交或合并,以及操作前后有怎样的差别
(base) martian148@Mac git_1 % git log
commit e85d662b27b86e1d6693a71e9fec7c127d7b67d1 (HEAD -> master)
Author: chengyiwei-mac <1485868106@qq.com>
Date:   Mon Apr 7 00:08:28 2025 +0800

    commit 2

    delete README.md

commit c91719612c44dfe4e3338a3917a546935dd2ee11
Author: chengyiwei-mac <1485868106@qq.com>
Date:   Mon Apr 7 00:05:06 2025 +0800

    commit 1
2
3
4
5
6
7
8
9
10
11
12
13
14
15
可以看到我们的两次提交
- commit 边上的 “c917196......” 是这个提交的哈希值,Git的其他命令中,在指向提交时会用到这个哈希值。
- Author 栏中显示我们给 Git 设置的用户名和邮箱地址
- Date栏中显示提交执行的日期和时间
只显示提交信息的第一行
如果只想让程序显示第一行简述信息,可以在 git log 命令后加上 --pretty=short。这样一来开发人员就能够更轻松地把握多个提交。
(base) martian148@Mac git_1 % git log --pretty=short

commit e85d662b27b86e1d6693a71e9fec7c127d7b67d1 (HEAD -> master)
Author: chengyiwei-mac <1485868106@qq.com>

    commit 2

commit c91719612c44dfe4e3338a3917a546935dd2ee11
Author: chengyiwei-mac <1485868106@qq.com>

    commit 1
2
3
4
5
6
7
8
9
10
11
只显示指定目录、文件的日志
只要在 git log 命令后加上目录名,便会只显示该目录下的日志。如果加的是文件名,就会只显示与该文件相关的日志。
git log [文件名]
如果你需要到历史记录里面去查,就需要加上 --,告诉 Git 我查的是历史里的路径,而不是当前工作区的路径。
(base) martian148@Mac git_1 % git log -- README.md
commit e85d662b27b86e1d6693a71e9fec7c127d7b67d1 (HEAD -> master)
Author: chengyiwei-mac <1485868106@qq.com>
Date:   Mon Apr 7 00:08:28 2025 +0800

    commit 2

    delete README.md

commit c91719612c44dfe4e3338a3917a546935dd2ee11
Author: chengyiwei-mac <1485868106@qq.com>
Date:   Mon Apr 7 00:05:06 2025 +0800

    commit 1
2
3
4
5
6
7
8
9
10
11
12
13
14
# 查看更改前后的差别
git diff
git diff 命令可以查看工作树、暂存区、最新提交之间的差别(只显示已追踪文件的变化)。单从字面上可能很难理解,各位不妨跟着笔者的解说亲手试一试。
我们再次创建 README.md,并写下标题
# Git 教程
(base) martian148@Mac git_1 % git add README.md
(base) martian148@Mac git_1 % git diff
(base) martian148@Mac git_1 % git diff HEAD

diff --git a/README.md b/README.md
new file mode 100644
index 0000000..81aaa8d
--- /dev/null
+++ b/README.md
@@ -0,0 +1,2 @@
+# Git 教程
+
2
3
4
5
6
7
8
9
10
11
12
第一次使用 git diff 没有返回时因为我们 git add README.md 之后工作树和暂存区之间并没有区别,加上 HEAD 之后就能查看和最新的提交之间的差别
不妨养成这样一个好习惯:在执行git commit命令之前先执行git diff HEAD命令,查看本次提交与上次提交之间有什么差别,等确认完毕后再进行提交。这里的HEAD是指向当前分支中最新一次提交的指针。
确认无误后我们使用 git commit 提交
(base) martian148@Mac git_1 % git commit -m "insert Index"
[master 2c068fa] insert Index
 1 file changed, 2 insertions(+)
 create mode 100644 README.md
(base) martian148@Mac git_1 % git log
commit 2c068faea9ab880034ad5cb3cfd5434e8875c61a (HEAD -> master)
Author: chengyiwei-mac <1485868106@qq.com>
Date:   Mon Apr 7 00:32:12 2025 +0800

    insert Index

commit e85d662b27b86e1d6693a71e9fec7c127d7b67d1
Author: chengyiwei-mac <1485868106@qq.com>
Date:   Mon Apr 7 00:08:28 2025 +0800

    commit 2

    delete README.md

commit c91719612c44dfe4e3338a3917a546935dd2ee11
Author: chengyiwei-mac <1485868106@qq.com>
Date:   Mon Apr 7 00:05:06 2025 +0800

    commit 1
2
3
4
5
6
7
8
9
10
11
12
13
14
15
16
17
18
19
20
21
22
23
24
25
# Git 分支
在进行多个并行作业时,我们会用到分支。在这类并行开发的过程中,往往同时存在多个最新代码状态。从master分支创建feature-A分支和fix-B分支后,每个分支中都拥有自己的最新代码。master分支是Git默认创建的分支,因此基本上所有开发都是以这个分支为中心进行的。
不同分支中,可以同时进行完全不同的作业。等该分支的作业完成之后再与master分支合并。比如feature-A分支的作业结束后与master合并。
通过灵活运用分支,可以让多人同时高效地进行并行开发。
# 显示分支一览表
git branch
可以看到master分支左侧标有“*”(星号),表示这是我们当前所在的分支。也就是说,我们正在master分支下进行开发。结果中没有显示其他分支名,表示本地仓库中只存在master一个分支。
(base) martian148@Mac git_1 % git branch
* master
2
# 创建、切换分支
git checkout -b
执行下面的命令,创建名为 feature-A 的分支
(base) martian148@Mac git_1 % git checkout -b feature-A
切换到一个新分支 'feature-A'
2
这时再来查看分支列表,会显示我们处于feature-A分支下。
(base) martian148@Mac git_1 % git branch
* feature-A
  master
2
3
feature-A分支左侧标有 "*",表示当前分支为feature-A。在这个状态下像正常开发那样修改代码、执行git add命令并进行提交的话,代码就会提交至feature-A分支。像这样不断对一个分支(例如feature-A)进行提交的操作,我们称为“培育分支”。
下面来实际操作一下。在README.md文件中添加一行。
# Git教程

 - feature-A
2
3
我们在 README.md 中添加了 feature-A 这样一行字母,然后进行提交。
(base) martian148@Mac git_1 % git diff
diff --git a/README.md b/README.md
index 81aaa8d..69d9407 100644
--- a/README.md
+++ b/README.md
@@ -1,2 +1,3 @@
 # Git 教程

+- Feature -A
(base) martian148@Mac git_1 % git add README.md
(base) martian148@Mac git_1 % git commit -m "add feature-A"
[feature-A 6e91002] add feature-A
 1 file changed, 1 insertion(+)
2
3
4
5
6
7
8
9
10
11
12
13
于是,这一行就添加到feature-A分支中了
切换到 master 分支
(base) martian148@Mac git_1 % git checkout master
切换到分支 'master'
2
然后查看 README.md 文件,会发现 README.md 文件仍然保持原先的状态,并没有被添加文字。feature-A 分支的更改不会影响到 master 分支,这正是在开发中创建分支的优点。只要创建多个分支,就可以在不互相影响的情况下同时进行多个功能的开发。
切换回上一个分支
现在切换回 feature-A 分支
(base) martian148@Mac git_1 % git checkout -
切换到分支 'feature-A'
(base) martian148@Mac git_1 % git branch
* feature-A
  master
2
3
4
5
像上面这样用 “-”(连字符)代替分支名,就可以切换至上一个分支。当然,将 “-” 替换成 feature-A 同样可以切换到 feature-A 分支。
# 合并分支
git merge
接下来,我们假设feature-A已经实现完毕,想要将它合并到主干分支master中。首先切换到master分支。
(base) martian148@Mac git_1 % git checkout master
切换到分支 'master'
2
然后合并 feature-A 分支。为了在历史记录中明确记录下本次分支合并,我们需要创建合并提交。因此,在合并时加上--no-ff 参数。
(base) martian148@Mac git_1 % git merge --no-ff feature-A
Merge made by the 'ort' strategy.
 README.md | 1 +
 1 file changed, 1 insertion(+)
2
3
4
这样一来,feature-A 分支的内容就合并到 master 分支中了。
# 以图表形式查看分支
git log --graph
用git log --graph命令进行查看的话,能很清楚地看到特性分支(feature-A)提交的内容已被合并。除此以外,特性分支的创建以及合并也都清楚明了。
(base) martian148@Mac git_1 % git log --graph
*   commit 78796c05775d58a610f94eda195e933fccf76484 (HEAD -> master)
|\  Merge: 2c068fa 6e91002
| | Author: chengyiwei-mac <1485868106@qq.com>
| | Date:   Mon Apr 7 13:14:14 2025 +0800
| |
| |     Merge branch 'feature-A'
| |
| * commit 6e9100227dc85b1f806633790bb082bc767dc1e4 (feature-A)
|/  Author: chengyiwei-mac <1485868106@qq.com>
|   Date:   Mon Apr 7 13:02:12 2025 +0800
|
|       add feature-A
|
* commit 2c068faea9ab880034ad5cb3cfd5434e8875c61a
| Author: chengyiwei-mac <1485868106@qq.com>
| Date:   Mon Apr 7 00:32:12 2025 +0800
|
|     insert Index
|
* commit e85d662b27b86e1d6693a71e9fec7c127d7b67d1
| Author: chengyiwei-mac <1485868106@qq.com>
| Date:   Mon Apr 7 00:08:28 2025 +0800
|
2
3
4
5
6
7
8
9
10
11
12
13
14
15
16
17
18
19
20
21
22
23
24
25
# 查看之前所有提交
git reflog
git reflog 能查看仓库所有的提交值,包括没有分支指向的提交
# 回溯历史版本
git reset --hard
Git 的另一特征便是可以灵活操作历史版本。借助分散仓库的优势,可以在不影响其他仓库的前提下对历史版本进行操作。
我们先回溯历史版本,创建一个名为 fix-B 的特性分支
回溯到创建feature-A分支前
让我们先回溯到前面feature-A分支创建之前,创建一个名为fix-B的特性分支。
要让仓库的HEAD、暂存区、当前工作树回溯到指定状态,需要用到 git reset --hard 命令。只要提供目标时间点的哈希值,就可以完全恢复至该时间点的状态。
git reset --hard [哈希值]
(base) martian148@Mac git_1 % git reset 2c068faea9ab880034ad5cb3cfd5434e8875c61a
重置后取消暂存的变更:
M	README.md
(base) martian148@Mac git_1 % git log --graph
* commit 2c068faea9ab880034ad5cb3cfd5434e8875c61a (HEAD -> master)
| Author: chengyiwei-mac <1485868106@qq.com>
| Date:   Mon Apr 7 00:32:12 2025 +0800
|
|     insert Index
|
* commit e85d662b27b86e1d6693a71e9fec7c127d7b67d1
| Author: chengyiwei-mac <1485868106@qq.com>
| Date:   Mon Apr 7 00:08:28 2025 +0800
|
|     commit 2
|
|     delete README.md
|
* commit c91719612c44dfe4e3338a3917a546935dd2ee11
  Author: chengyiwei-mac <1485868106@qq.com>
  Date:   Mon Apr 7 00:05:06 2025 +0800
2
3
4
5
6
7
8
9
10
11
12
13
14
15
16
17
18
19
20
21
22
我们已经成功回溯到特性分支(feature-A)创建之前的状态。由于所有文件都回溯到了指定哈希值对应的时间点上,README.md文件的内容也恢复到了当时的状态。
创建 fix-B 分支
现在我们来创建特性分支(fix-B)
(base) martian148@Mac git_1 % git checkout -b "fix-B"

切换到一个新分支 'fix-B'
2
3
我们在README.md文件中添加一行文字 fix-B
# Git教程

  - fix-B
2
3
然后直接提交README.md文件。
(base) martian148@Mac git_1 % git add .
(base) martian148@Mac git_1 % git commit -m "fix-B"
[fix-B 825ac42] fix-B
 1 file changed, 1 insertion(+)
2
3
4
接下来我们的目标主干分支合并 feature-A 分支的修改后,又合并了 fix-B 的修改。
推进至 feature-A 分支合并后的状态
首先恢复到feature-A分支合并后的状态。不妨称这一操作为“推进历史”。
git log 命令只能查看以当前状态为终点的历史日志,可以加上参数 --all,也可以加上格式化让提交更树更美观
(base) martian148@Mac git_1 % git log --oneline --graph --all --decorate

* 825ac42 (HEAD -> fix-B) fix-B
| * 6e91002 (feature-A) add feature-A
|/
* 2c068fa (master) insert Index
* e85d662 commit 2
* c917196 commit 1
2
3
4
5
6
7
8
--graph画出 ASCII 的分支图--all显示所有分支的提交记录--oneline每个提交一行显示--decorate显示分支、标签等指针信息
我们将HEAD、暂存区、工作树恢复到这个 feature-A 时间点的状态
我要先执行 git checkout 把 HEAD 移动到 master 位置,然后把 master 推动到 featrue-A 的位置
(base) martian148@Mac git_1 % git reset --hard 6e91002
HEAD 现在位于 6e91002 add feature-A
2
# 合并冲突
我们现在有两个分支 feature-A 和 fix-B,我们尝试合并这两个分支
(base) martian148@Mac git_1 % git log --graph --oneline --decorate --all
* 825ac42 (fix-B) fix-B
| * 6e91002 (HEAD -> master, feature-A) add feature-A
|/
* 2c068fa insert Index
* e85d662 commit 2
* c917196 commit 1
2
3
4
5
6
7
(base) martian148@Mac git_1 % git merge --no-ff fix-B
自动合并 README.md
冲突(内容):合并冲突于 README.md
自动合并失败,修正冲突然后提交修正的结果
2
3
4
这里系统提示我们产生了合并冲突,不解决冲突就无法完成合并,所以我们打开README.md文件,解决这个冲突。
打开编译器,会发现 README.md 文件变成了这个样子:
# Git 教程

<<<<<<< HEAD
- Feature -A
=======
- fix -B
>>>>>>> fix-B
2
3
4
5
6
7
=======以上的部分是当前HEAD的内容,以下的部分是要合并的fix-B分支中的内容。我们在编辑器中将其改成想要的样子。
# Git 教程


- Feature -A

- fix -B
2
3
4
5
6
提交解决后的结果
冲突解决后,执行git add命令与git commit命令。
(base) martian148@Mac git_1 % git add README.md
(base) martian148@Mac git_1 % git commit -m "fix conflict"
[master ff533db] fix conflict
(base) martian148@Mac git_1 % git log --graph --oneline --decorate --all
*   ff533db (HEAD -> master) fix conflict
|\
| * c093351 (fix-B) fix-B
| * 825ac42 fix-B
* | 6e91002 (feature-A) add feature-A
|/
* 2c068fa insert Index
* e85d662 commit 2
* c917196 commit 1
2
3
4
5
6
7
8
9
10
11
12
13
14
# 与 GitHub 交互
# 添加远程仓库
Git是分散型版本管理系统,但我们前面所学习的,都是针对单一本地仓库的操作。下面,我们将开始接触远在网络另一头的远程仓库。远程仓库顾名思义,是与我们本地仓库相对独立的另一个仓库。让我们先在GitHub上创建一个仓库,并将其设置为本地仓库的远程仓库。
为防止与其他仓库混淆,仓库名请与本地仓库保持一致,即git-tutorial。创建时请不要勾选Initialize this repository with a README选项。因为一旦勾选该选项,GitHub一侧的仓库就会自动生成README文件,从创建之初便与本地仓库失去了整合性。虽然到时也可以强制覆盖,但为防止这一情况发生还是建议不要勾选该选项,直接点击 Create repository 创建仓库。
我的 GitHub 用户名是 chengyiwei,创建了 git_test 仓库
使用 git remote add 命令将它设置为本地仓库的远程仓库
(base) martian148@Mac git_1 % git remote add origin git@github.com:chengyiwei/git_test.git
执行完之后,Git 会自动将 git@github.com:chengyiwei/git_test.git 远程仓库的名称设置为 origin(标识符)
# 推送至远程仓库
git push
推送至master分支
如果想将当前分支下本地仓库中的内容推送给远程仓库,需要用到 git push 命令。现在假定我们在master分支下进行操作。
(base) martian148@Mac git_1 % git push -u origin master
枚举对象中: 18, 完成.
对象计数中: 100% (18/18), 完成.
使用 8 个线程进行压缩
压缩对象中: 100% (7/7), 完成.
写入对象中: 100% (18/18), 1.37 KiB | 1.37 MiB/s, 完成.
总共 18(差异 1),复用 0(差异 0),包复用 0(来自  0 个包)
remote: Resolving deltas: 100% (1/1), done.
To github.com:chengyiwei/git_test.git
 * [new branch]      master -> master
分支 'master' 设置为跟踪 'origin/master'
2
3
4
5
6
7
8
9
10
11
像这样执行git push命令,当前分支的内容就会被推送给远程仓库origin的master分支。
-u 参数是告诉本地本地分支和远程分支的追踪关系(upstream),相当于把 origin 和 master 绑定了,下次如果我再执行 git push 操作就不用手动指定远程分支,否则每次都需要输入 git push origin master,后面使用 git pull Git 也知道拉去到哪里
推送至master以外的分支
除了master分支之外,远程仓库也可以创建其他分支。举个例子,我们在本地仓库中创建feature-D分支,并将它以同名形式push至远程仓库。
(base) martian148@Mac git_1 % git checkout -b "feature-D"
切换到一个新分支 'feature-D'
(base) martian148@Mac git_1 % git branch
  feature-A
* feature-D
  fix-B
  master
2
3
4
5
6
7
(base) martian148@Mac git_1 % git push -u origin feature-D
总共 0(差异 0),复用 0(差异 0),包复用 0(来自  0 个包)
remote:
remote: Create a pull request for 'feature-D' on GitHub by visiting:
remote:      https://github.com/chengyiwei/git_test/pull/new/feature-D
remote:
To github.com:chengyiwei/git_test.git
 * [new branch]      feature-D -> feature-D
分支 'feature-D' 设置为跟踪 'origin/feature-D'
2
3
4
5
6
7
8
9
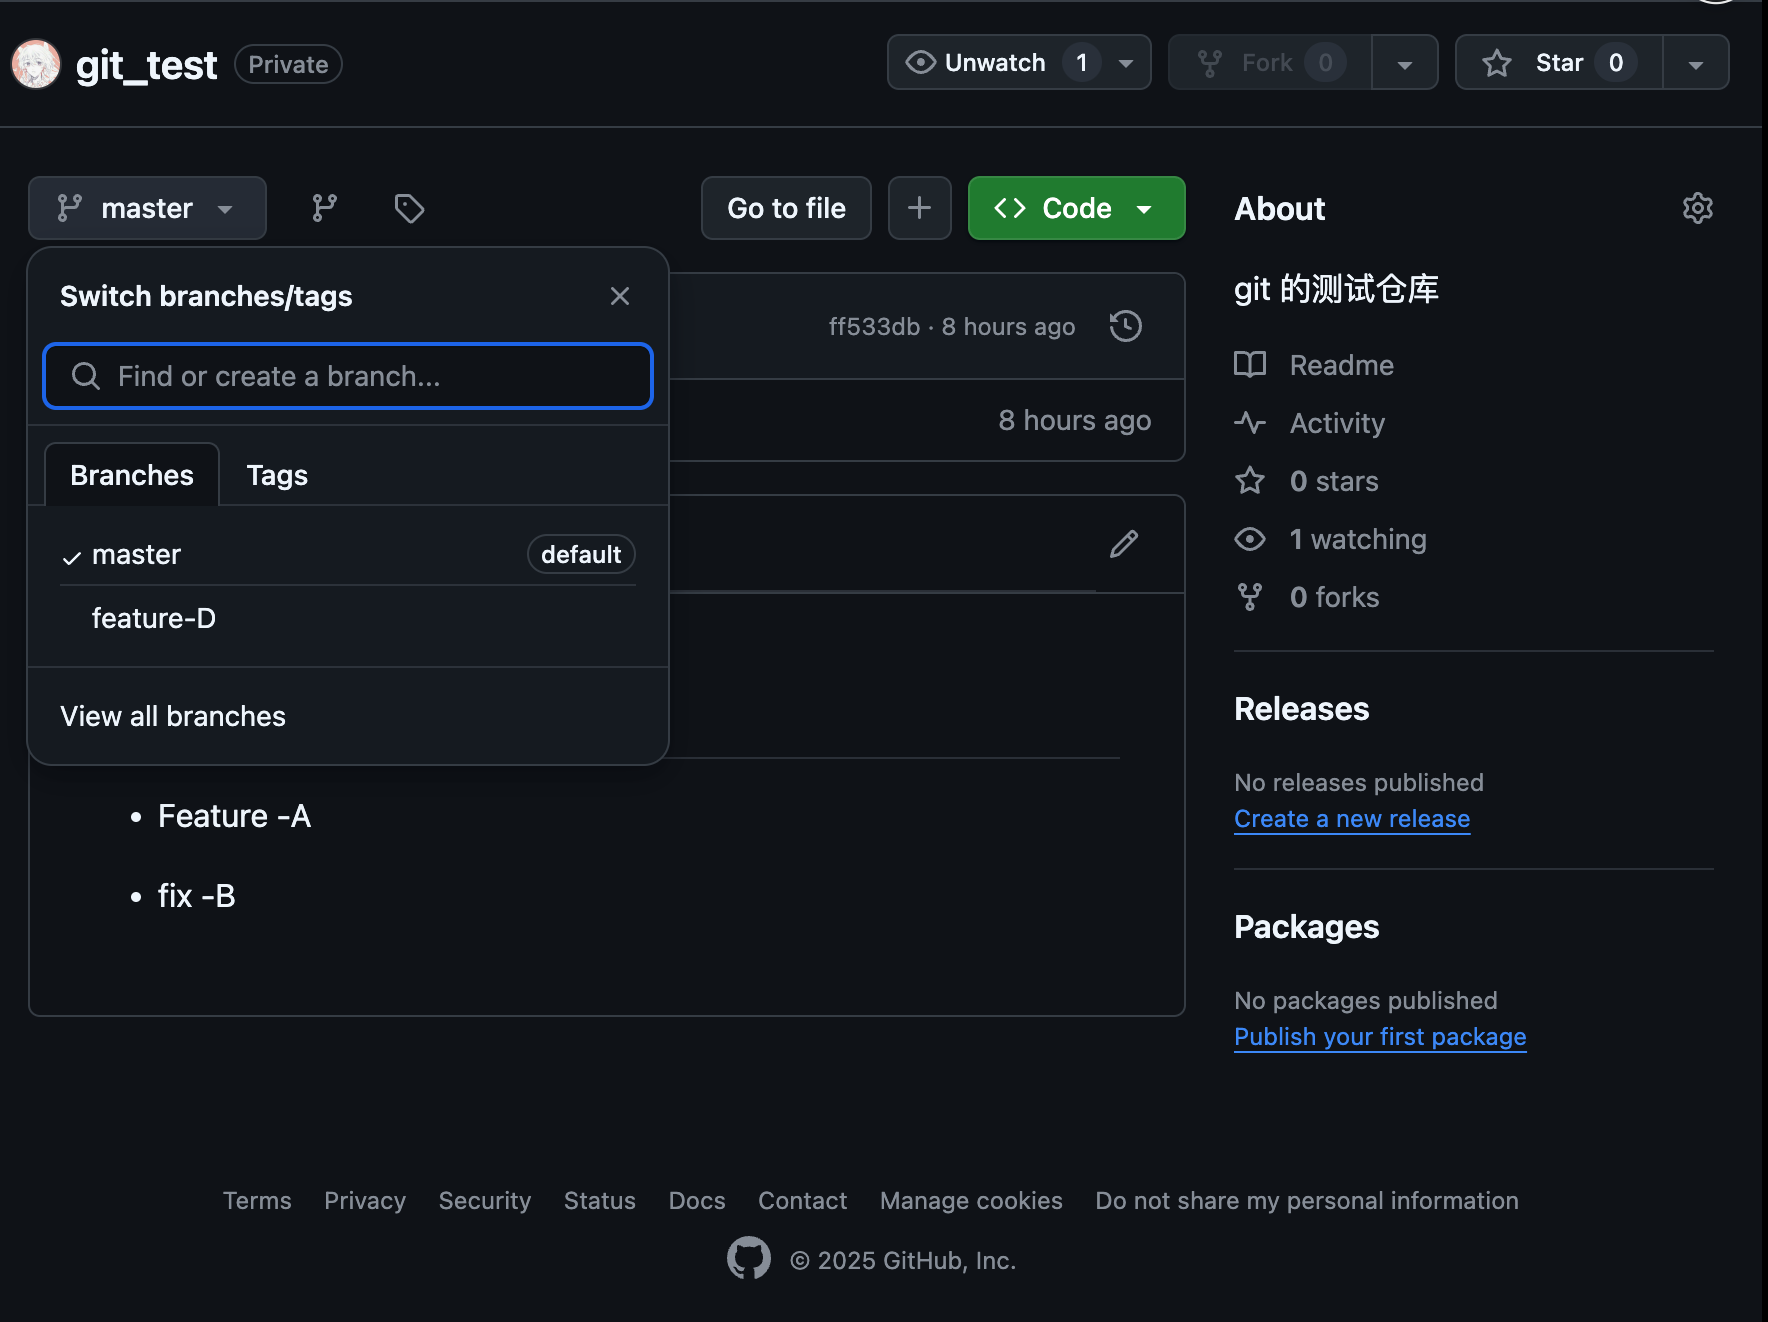
现在我们可以从 GitHub 页面看到 feature-D 分支了
# 从远程仓库获取
git clone
现在我们切换一个目录,从 GitHub 上 clone 这个仓库到本地
(base) martian148@Mac git_2 %  git clone git@github.com:chengyiwei/git_test.git
正克隆到 'git_test'...
remote: Enumerating objects: 18, done.
remote: Counting objects: 100% (18/18), done.
remote: Compressing objects: 100% (6/6), done.
remote: Total 18 (delta 1), reused 18 (delta 1), pack-reused 0 (from 0)
接收对象中: 100% (18/18), 完成.
处理 delta 中: 100% (1/1), 完成.
(base) martian148@Mac git_2 % cd git_test
(base) martian148@Mac git_test %
2
3
4
5
6
7
8
9
10
执行git clone命令后我们会默认处于master分支下,同时系统会自动将origin设置成该远程仓库的标识符。也就是说,当前本地仓库的master分支与GitHub端远程仓库(origin)的master分支在内容上是完全相同的。
(base) martian148@Mac git_test % git branch -a
* master
  remotes/origin/HEAD -> origin/master
  remotes/origin/feature-D
  remotes/origin/master
2
3
4
5
通过 git branch -a指令可以显示本地仓库和远程仓库的分支信息
获取远程的feature-D分支
我们试着将feature-D分支获取至本地仓库。
(base) martian148@Mac git_test % git branch -a
* feature-D
  master
  remotes/origin/HEAD -> origin/master
  remotes/origin/feature-D
  remotes/origin/master
2
3
4
5
6
-b 参数的后面是本地仓库中新建分支的名称。为了便于理解,我们仍将其命名为 feature-D,让它与远程仓库的对应分支保持同名。新建分支名称后面是获取来源的分支名称。例子中指定了origin/feature-D,就是说以名为origin的仓库(这里指GitHub端的仓库)的feature-D分支为来源,在本地仓库中创建feature-D分支。
向本地的feature-D分支提交更改
现在假定我们是另一名开发者,要做一个新的提交。在README. md文件中添加一行文字
# Git 教程


- Feature -A

- fix -B

- feature - D
2
3
4
5
6
7
8
9
(base) martian148@Mac git_test % git diff
diff --git a/README.md b/README.md
index d1e0242..2a97f63 100644
--- a/README.md
+++ b/README.md
@@ -4,3 +4,5 @@
 - Feature -A

 - fix -B
+
+- feature - D
2
3
4
5
6
7
8
9
10
11
提交 feature-D 分支
(base) martian148@Mac git_test % git add .
(base) martian148@Mac git_test % git commit -m "add feature-D"
[feature-D c0373a7] add feature-D
 1 file changed, 2 insertions(+)
2
3
4
推送feature-D分支
(base) martian148@Mac git_test % git add .
(base) martian148@Mac git_test % git commit -m "add feature-D"
[feature-D c0373a7] add feature-D
 1 file changed, 2 insertions(+)
(base) martian148@Mac git_test % git push
枚举对象中: 5, 完成.
对象计数中: 100% (5/5), 完成.
使用 8 个线程进行压缩
压缩对象中: 100% (2/2), 完成.
写入对象中: 100% (3/3), 287 字节 | 287.00 KiB/s, 完成.
总共 3(差异 0),复用 0(差异 0),包复用 0(来自  0 个包)
To github.com:chengyiwei/git_test.git
   ff533db..c0373a7  feature-D -> feature-D
2
3
4
5
6
7
8
9
10
11
12
13
从远程仓库获取feature-D分支 在本地仓库中提交更改 再将feature-D分支推送回远程仓库
通过这一系列操作,就可以与其他开发者相互合作,共同培育feature-D分支,实现某些功能。
# 获取最新的远程仓库分支
git pull
我们回到最早的那个目录,可以从远端拉取 feature-D
$ git pull origin feature-D
remote: Enumerating objects: 5, done.
remote: Counting objects: 100% (5/5), done.
remote: Compressing objects: 100% (2/2), done.
remote: Total 3 (delta 0), reused 3 (delta 0), pack-reused 0 (from 0)
展开对象中: 100% (3/3), 267 字节 | 89.00 KiB/s, 完成.
来自 github.com:chengyiwei/git_test
 * branch            feature-D  -> FETCH_HEAD
   ff533db..c0373a7  feature-D  -> origin/feature-D
更新 ff533db..c0373a7
Fast-forward
 README.md | 2 ++
 1 file changed, 2 insertions(+)
2
3
4
5
6
7
8
9
10
11
12
13
GitHub端远程仓库中的feature-D分支是最新状态,所以本地仓库中的feature-D分支就得到了更新。今后只需要像平常一样在本地进行提交再push给远程仓库,就可以与其他开发者同时在同一个分支中进行作业,不断给feature-D增加新功能。
git fetch
提问?
git fetch 和 git pull 的区别 ?
点击查看
| 命令 | 含义 |
|---|---|
git fetch | 拉取远程仓库的最新变更,但不做合并。 只是更新你本地的远程分支引用,不会影响你当前的工作区。 |
git pull | 等于 git fetch + git merge。 先拉取远程最新变更,再尝试和你当前的分支合并。 |
假设远程 origin/master 有新的提交。
你现在在本地的 master 分支。
如果你执行:
git fetch origin master
本地的远程分支:
origin/master会更新到最新状态。但你的本地分支
master还是原来的状态。如果要把更新的内容合并进来,你得手动做:
git merge origin/master1
如果你执行:
git pull origin master
- 本地的远程分支
origin/master会更新到最新状态。 - 而且! Git 会自动尝试把这些新提交合并到你当前的
master分支。
# 配置 SSH
- 配置SSH Key
git config --global user.name "这里输入你在GitHub的账户名"
git config --global user.email "这里输入你在GitHub的注册邮箱名" (没有引号)
2
- 生成ssh key,如果已经生成就不用了
ssh-keygen -t rsa -C "这里输入你在 GitHub 的注册邮箱"
- 查看是否有sshkey
先后输入
cd ~/.ssh
ls
如果出现
id_rsa id_rsa.pub
就说明成功了
- 复制公钥
cat id_rsa.pub
把显示的密匙复制
- 把密匙添加到github账户
Settings > SSH and GPG Keys
New SSH Key
- 检查一下 SSH Key 是否安装成功
$ ssh -T git@github.com
如果出现
Hi Juliecodestack! You've successfully authenticated, but GitHub does not provide shell access.
就说明成功了
# Fork别人的仓库
如果需要加入别人的项目
Fork别人的项目
然后会发现自己的仓库里面也会多出来这样一个项目
修改好之后Pull request
点击提交,那么就可以发送请求给原作者